If you are searching for the best shave of your life, it goes without saying you have to have a sharp straight razor before you put a blade to your skin. Aside from a double-edge safety razor, nothing delivers a closer, smoother, and longer-lasting shave other than straight razor shaving! Having a laser sharp straight razor is not only critical, it is also much safer. A blunt cutting edge is far more dangerous than a sharp one.
With so many different techniques to learn, straight razor shaving can be daunting to a beginner and the advanced alike. While the art of wet shaving is unique to your beard and hair growth, learning how to keep a razor sharp is universal.
The answer to this enigma, to the most efficient shaving experience, to get that oh-so-luxurious feeling of the edge of a razor blade gliding perfectly smoothly across your face, is learning the simple tools of the trade and techniques that have been passed down for generations. Straight razor shaving, after all, has been around for over two hundred years.
The fundamentals aren't difficult to master once you have the right process. Suffice it to say there is absolutely nothing that will ruin a smooth shave more than an extremely blunt razor or safety razor blades. But what makes a straight-edge razor sharp specifically? And how can you test it?
Even though you're excited to break out your new straight edge blade and go for a test run, you must understand that not all straight razors are "shave ready," and even a professionally honed blade won't keep an everlasting cutting edge. Especially with weekly shaving, even the highest-end cut throat razors get beat up and dull. Honing tools are meant to be used to sharpen and refine the blades' edges, they aren't meant to be used daily or weekly. However, hanging strops and paddle strops are. So what's the difference?
Don't worry if this sounds confusing or technical. We will cover it all so you will never have to shave with a dull blade again. So, let us start with the basics of shaving and maintaining a straight razor.

Why Start Straight Razor Shaving?
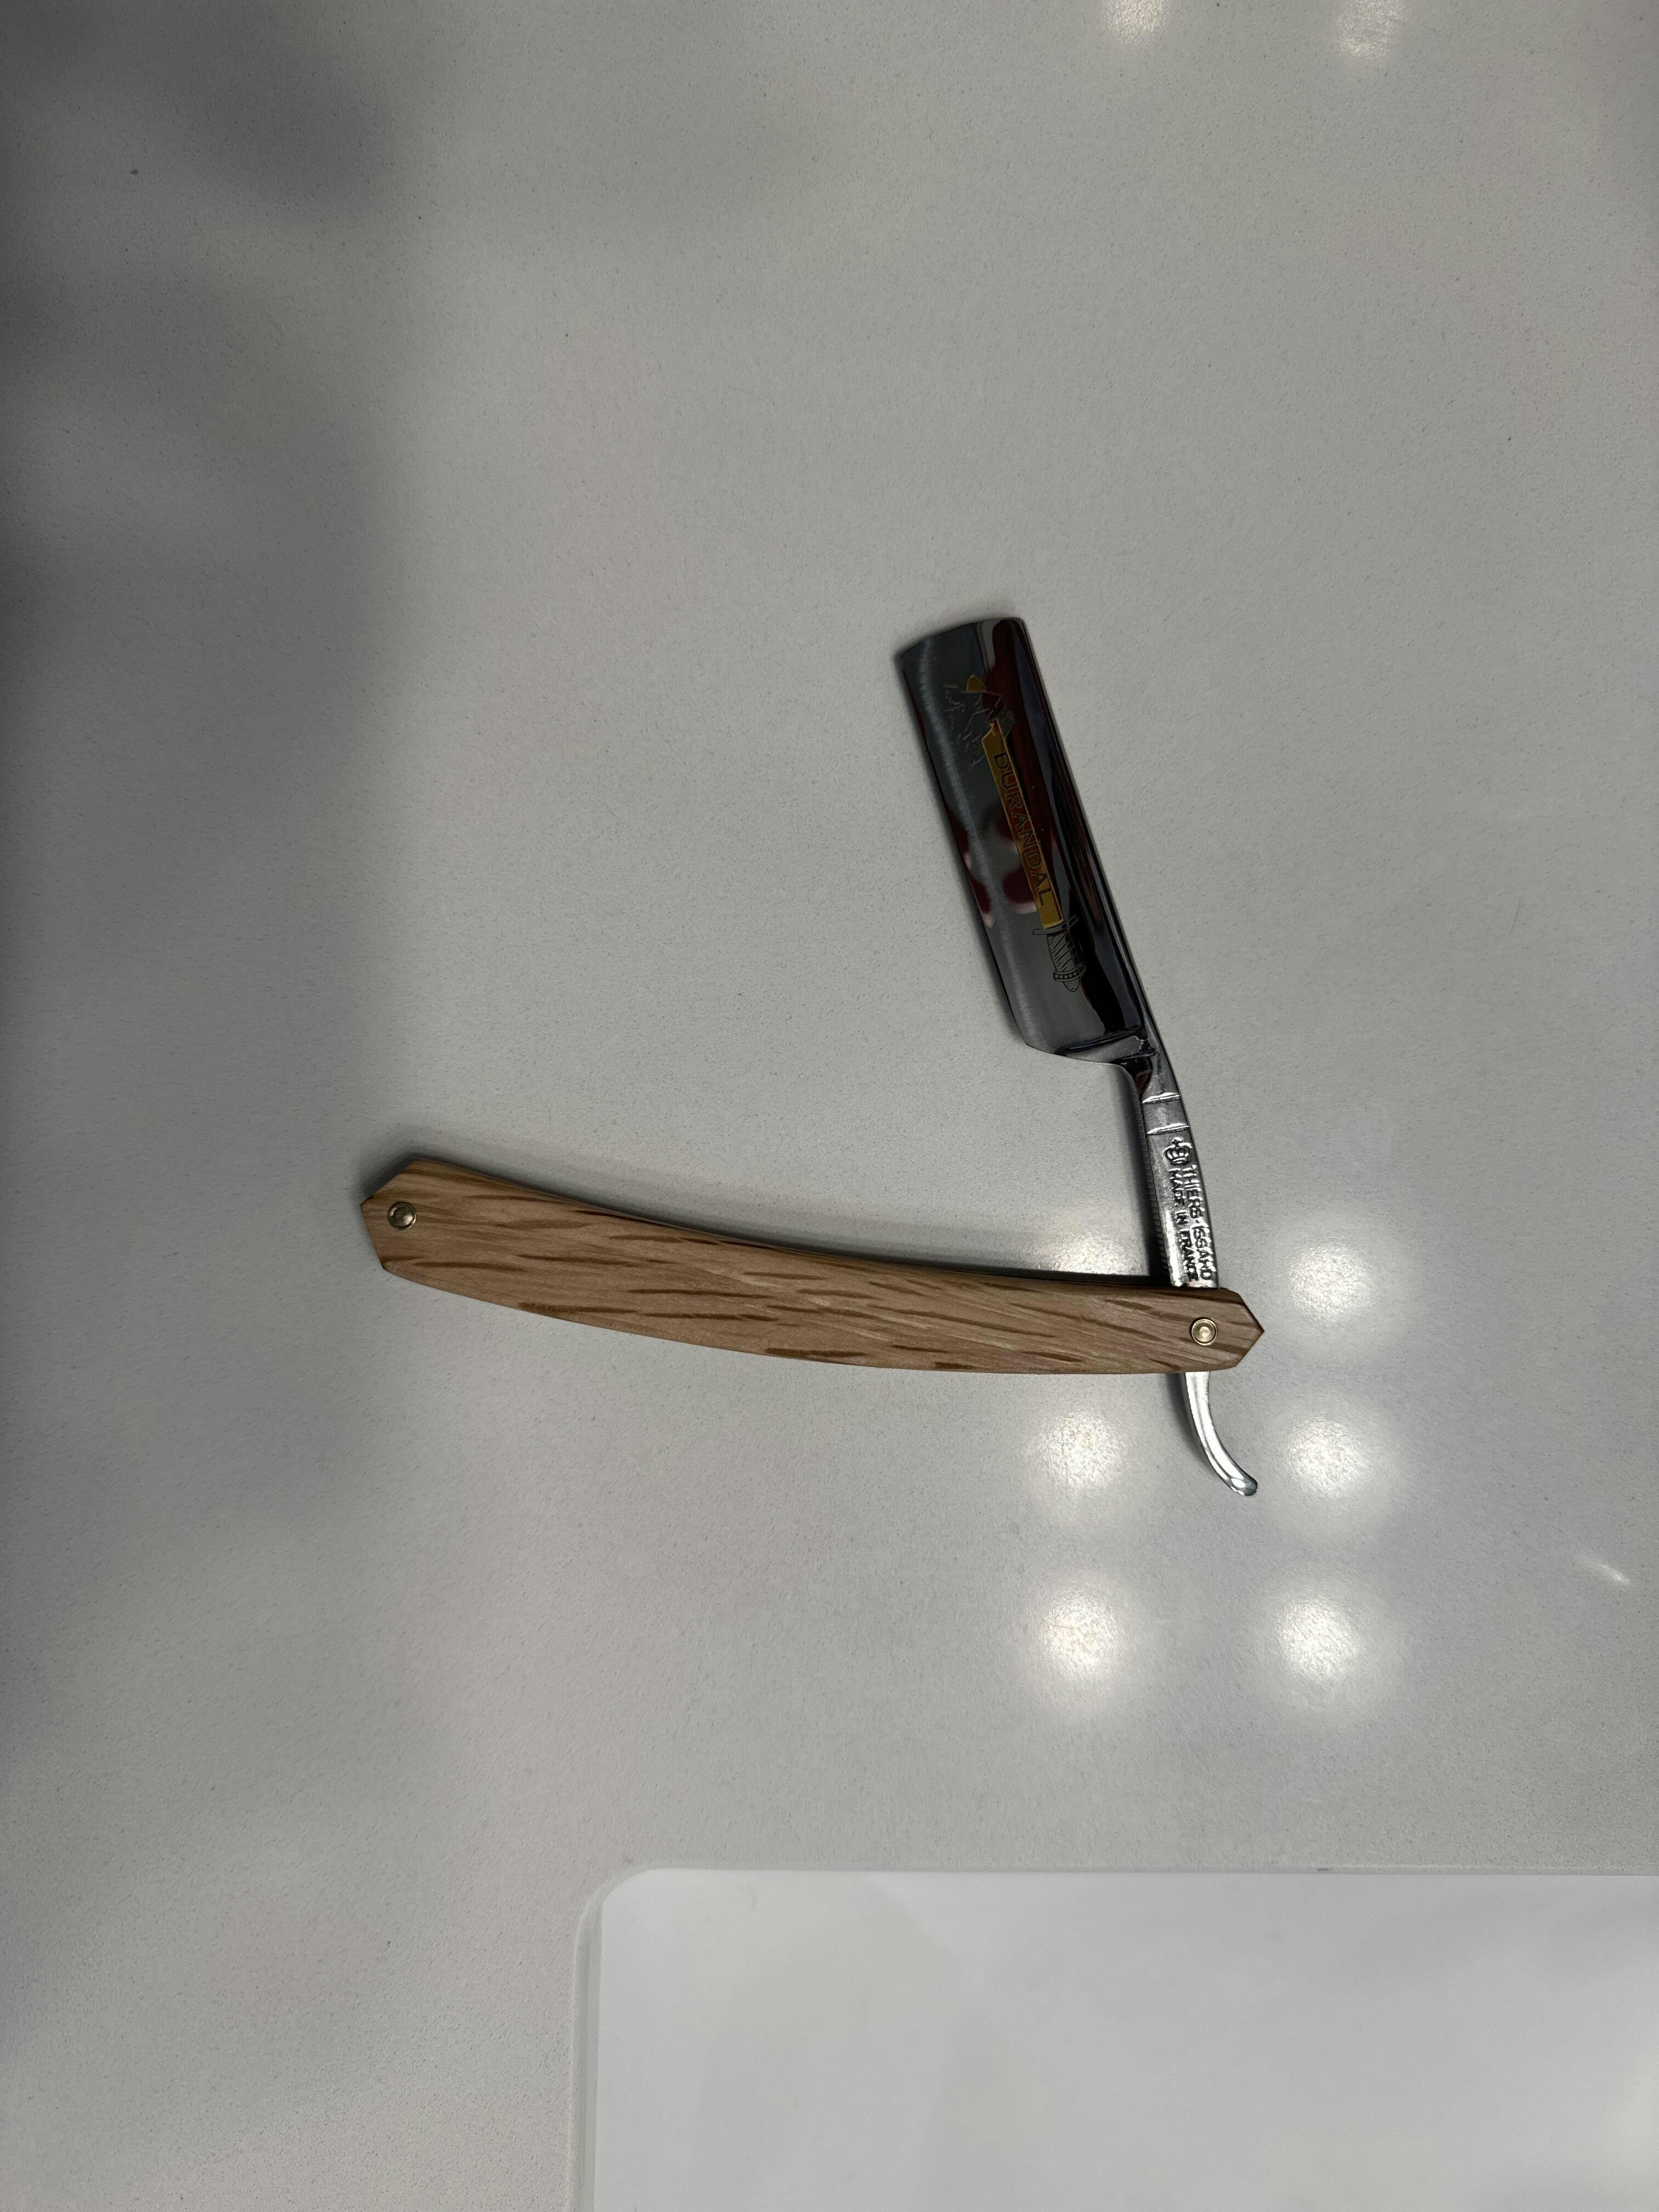
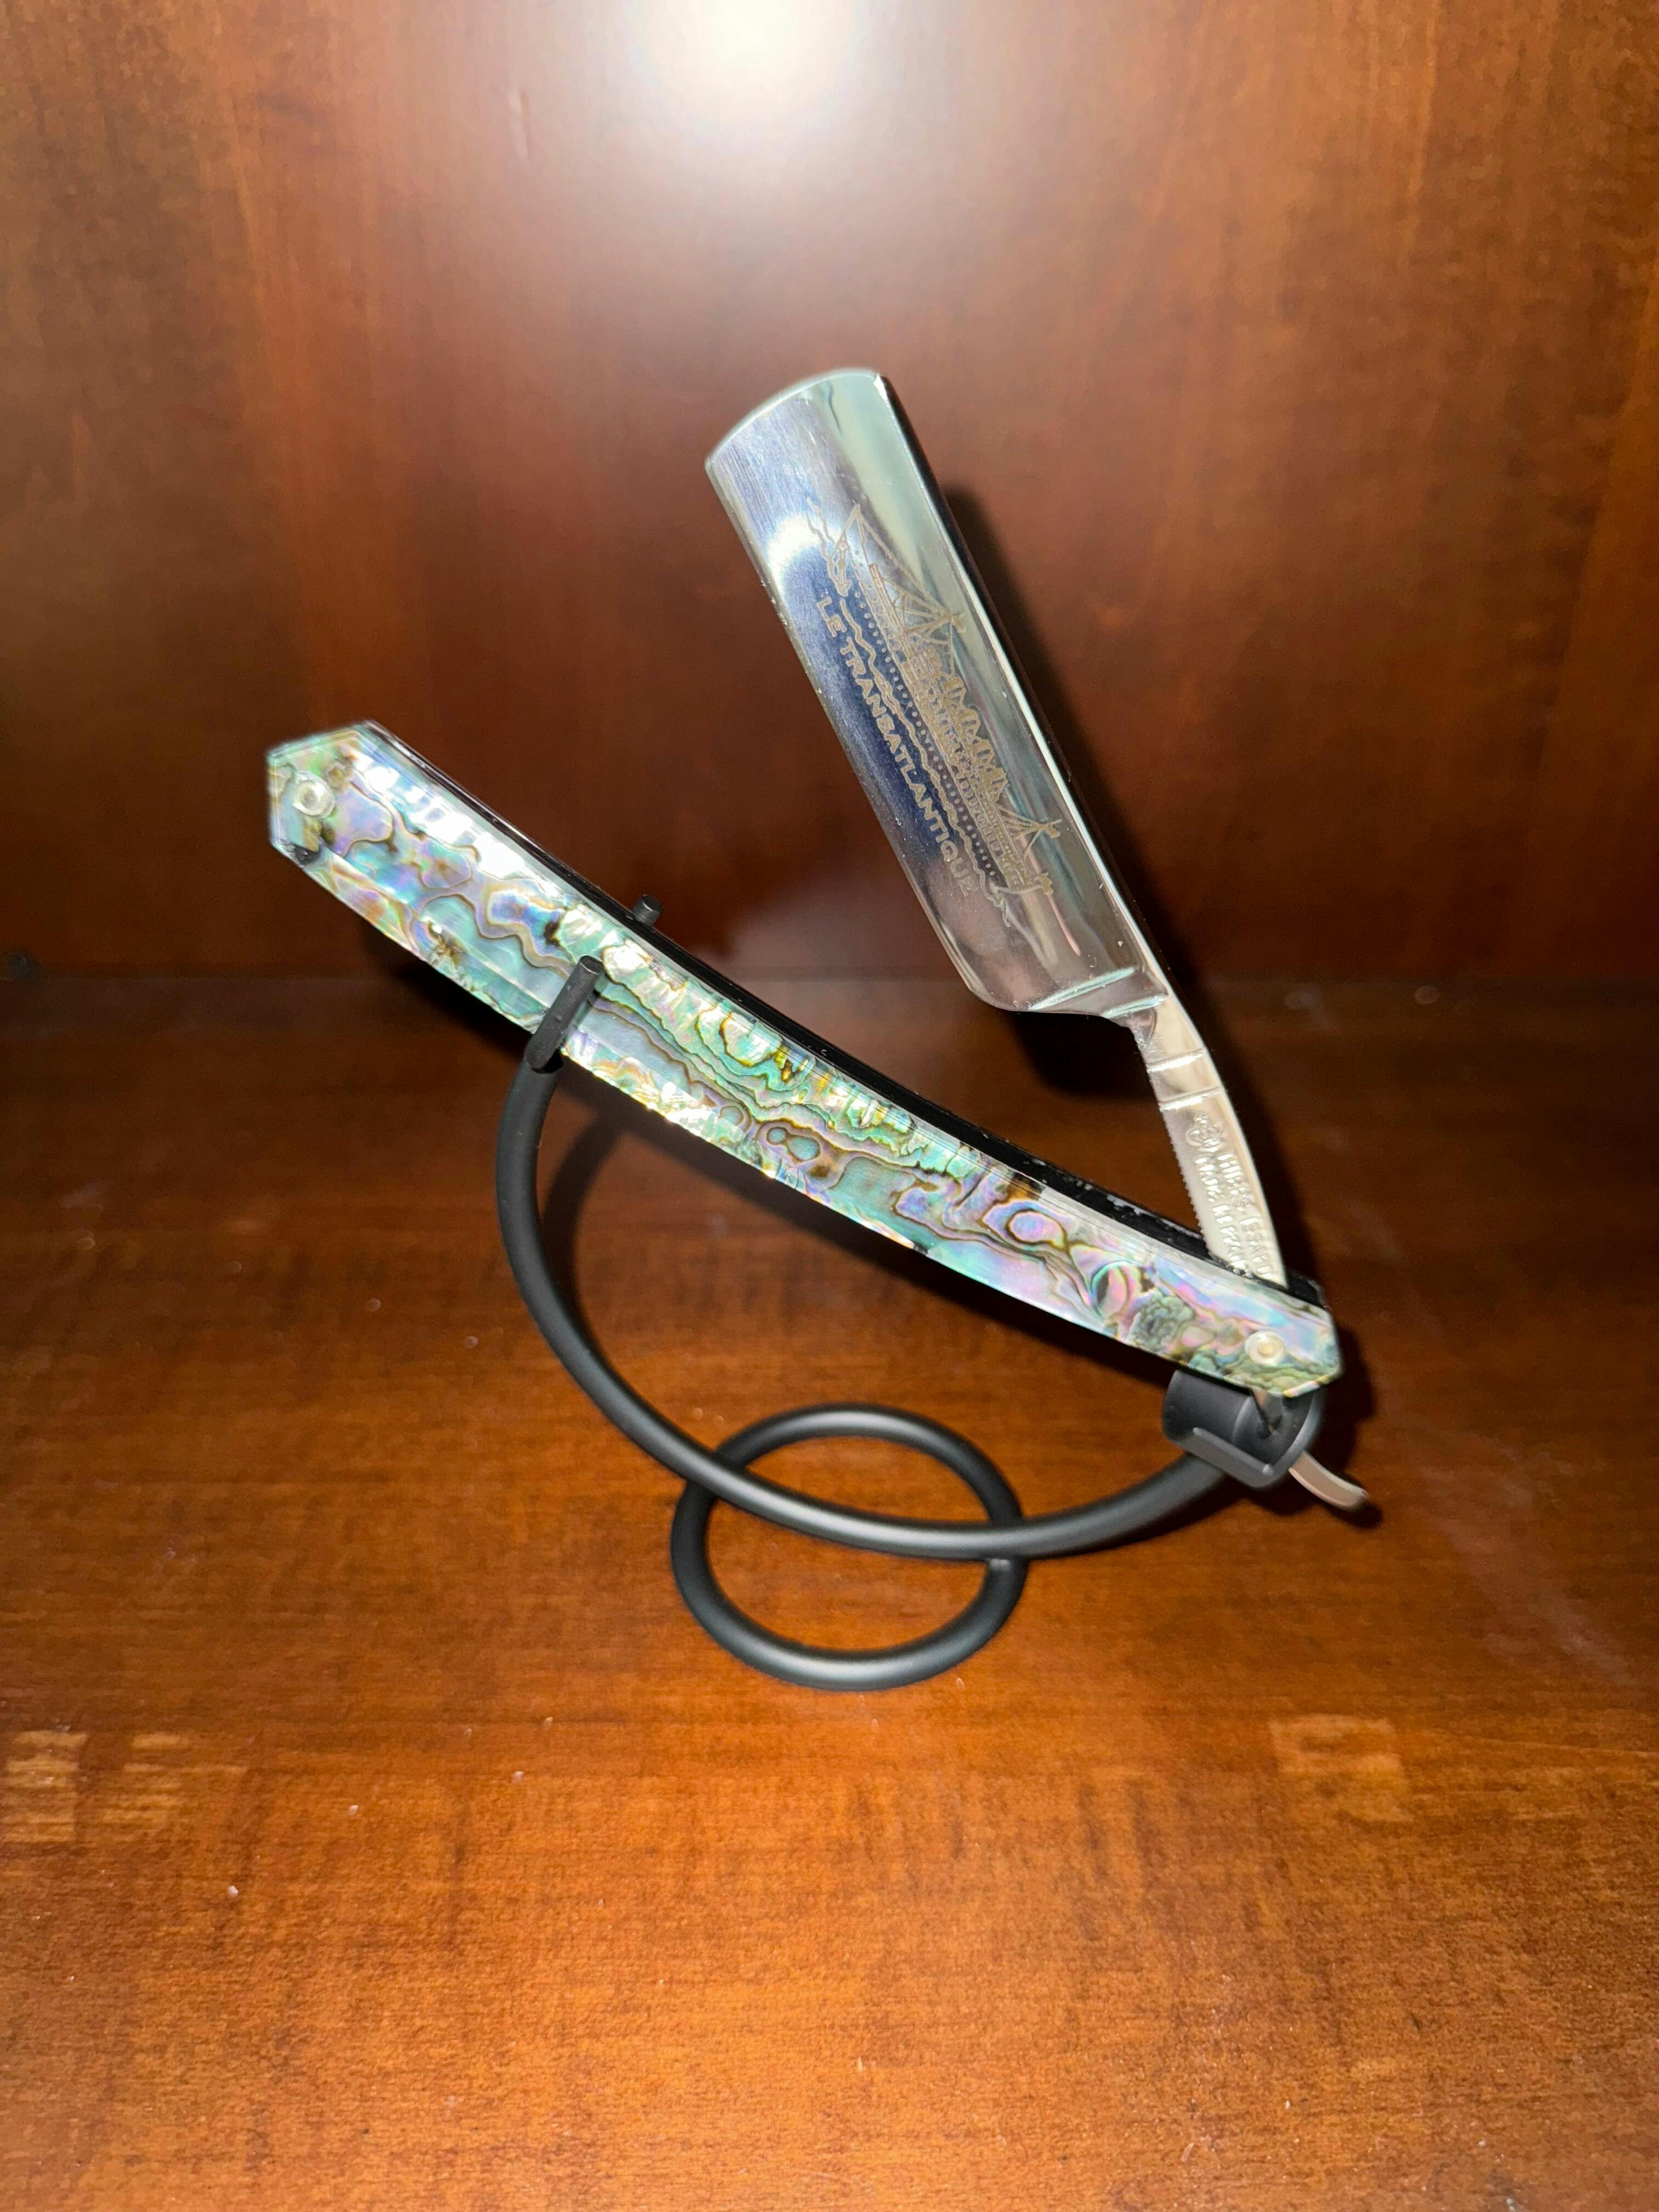
The original wet shaving tool was a straight razor—one of the oldest razor designs dating back to the 1680s. It features a long, straight single-edge blade pivoted in a handle usually adorned with intricate details. These cutthroat blades were the tool of choice of barber surgeons, who catered to the grooming needs of the elites.
As a more industrialized era came about, men started to yearn for a convenient and quick way of shaving that would not get in the way of their fast-paced lifestyles. And so, eventually, the art of wet shaving with a straight razor was dimmed by the convenience of disposable blades and dry shaving with King Camp Gillette’s lubricated cartridge razors.
Today, you can only get a straight razor shave from barbershops by licensed barbers or purchase your own from reputable online shave shop supply stores. So why all the hype? Is shaving with a straight razor really better?
In every way, there is no debate, and the rebirth of classic shaving tells the full story. Traditional wet shaving techniques and double-edge safety razors have seen a renaissance since 2009, ever since the advent of straight razors. Impeccable grooming is back more than ever! And, as with many nearly lost arts, there is a growing passion to understand, perfect, and share these classic wet shaving rituals.
Although many variations and tools are needed for the perfect wet shave routine, defining it is more straightforward. Wet shaving is the process of creating a smooth shaving surface for facial hair removal or any other hair with a sharp razor. Along with a pre-shave ritual, such as hot water, a hot shower, a hot towel, and lubricating factors, a thick lather (from shaving soap or shaving cream) to keep the skin hydrated and protect it from the sharp blade, resulting in a close skin-level shave with fewer strokes.

Why Is It Important To Keep Your Straight Razor Blade Sharp?
Shaving with a dull cutting edge is not only painful and uncomfortable but dangerous. No man enjoys razor burn, cuts, or the tension between a razor blade and their hair.
Nevertheless, there are two important reasons why you should keep your straight razor blade sharp: to prevent skin irritations and maintain your blades' quality for generations.
Preventing Skin Irritations
Razor burn and ingrown hairs, also known as "razor bumps," are the telltale sign of a razor's sharpness. It is a sign that your blade is becoming dull or damaged. To prevent skin irritation, it's good to have a solid pre-shaving routine such as:
- Exfoliate before you shave
- Use steam to warm, moisten, and hydrate the skin before you shave
- Use a high-quality badger brush or a synthetic brush to apply shaving cream or soap
- Use a sterile, clean, and sharp blade that has been honed or stropped
- Use the right technique by holding your skin tight, shaving downward, and following your beard growth map
Are Microscopic Chips In A Straight Razor Blade Normal?
Tiny microscopic chips on the cutting edge of a blade are par for the course when it comes to the anatomy of a straight razor. However, it is the nemesis to a close shave. The cutting edge, by nature, is prone to tiny chips in the edges. This is due to the unique materials used to making a blade and the hardening process of steel. It is completely normal. You will find these miniature cracks often occur at borders between areas of slightly different microscopic properties in the steel.
This happens when a razor blade cuts the hair and tends to get more prominent. How bad the cracking is depends on where the hair meets the blade, your facial hair type, and if a crack was present before.

How Can You Improve The Shave Quality Of Your Straight Razor?
Most straight razors come with the cutting edge "shave-ready" from the manufacturer and are sharp enough to use immediately, but not all. They are sharpened following the manufacturer's specifications which may be different from the sharpness you desire from a new straight razor. One way to check is to see if the blade digs into your thumbnail with a good grip and little effort.
You can always take the razor back to the manufacturer for professional honing. Some may charge a fee, while others may do it for free. However, if you want to achieve the optimal sharpness while also testing your blade, the best way to improve the cutting edge is to invest in straight razor maintenance tools, such as a honing stone, whetstone, and a leather strop.
What's The Difference Between Stropping And Honing?
Two main blade maintenance methods must be mastered before you can begin sharpening a straight razor blade. The two methods of hand sharpening a straight razor are stropping and honing; the former produces an "aligned" edge, while the latter has a "refined" one.
Honing
Honing is a refining technique performed every two to three months or when the straight razor blade has serious damage. The blade is passed over a honing stone with varying grit (aggressiveness) levels to achieve a glass-like polish and a razor-sharp edge.
Stropping
Stropping is routine blade maintenance that all users of straight razors must perform before shaving. Using a leather strop, the straight razor's edge can be realigned when damaged, smoothed, or chipped. The metal warms up as it slides across the abrasive surface of the leather, aligning its cutting edge and removing any dullness that could cause pulling.

Honing Types & Grits
Stones are the most common honing tool for straight razor blades. You may come across several types, like sharpening stones, whetstones, and water stones.
It can be confusing to determine which one to use, especially if you are a straight razor beginner. After all, using the wrong grit and honing type can damage your blade’s edge significantly.
Types Of Honing Stones
To make it easier for you, just remember that ‘to whet’ means ‘to sharpen.’ Hence, a sharpening stone is synonymous with a whetstone, which refers to any stone used for sharpening or honing an edged tool, like knives and razor blades.
Whetstones can be either natural or artificial, with the former being sourced naturally while the latter is manufactured in a factory. Whetstones used with water are referred to as water stones, while those used with oil are called oil stones.

What Are Coticules?
Coticule is one example of a high-grade whetstone, with it being a water stone. Real natural coticules are exclusive hand-shaped natural stones from the Ardennes region of Belgium. It is a brittle honing stone with a high concentration of spessartite garnets and a whitish-yellow color fixed on a blue-gray slate for stability.
Despite its versatility, some wet shavers enjoy using coticules as a finisher for straight razors to achieve the infamous ‘coticule edge.’ Unfortunately, to get the best results from using coticules to hone straight razor blades, you will need lots of time and practice to experiment.
Japanese Natural Stones
Japanese natural stones are an easier-to-master alternative to coticules and a favorite among enthusiasts. They are softer than other whetstones because of the unique nature of Japanese rocks, which includes fine silicate grains buried in a clay-like material. Also, Japanese water stones are very porous, so they need to be wet before they can be used.

Synthetic Honing Stones
The limited availability of natural stones inspired the creation of silicon carbide and aluminum oxide-based synthetic alternatives that could be more easily tailored to meet specific grit requirements. This means that synthetic stones have different grit levels, while natural stones do not. Compared to natural stones, these are both less expensive and more accessible.
Grit Levels
Only synthetic sharpening stones are classified according to their grit levels, which indicate how coarse, or fine the stones are and are comparable to the scale used for sandpaper grits.
The majority of synthetic honing range from 120 grit to 30,000 grit, while natural stones range from 400 grit to 10,000 grit. The micron scale is sometimes used. For example, 1,000 grit stones, which are very common grit sizes, equals 14.7 microns.
So, what sharpening grit should you use to sharpen straight razor blades?
400 Grit - Serious Repairs & Bevel Setting
A stone with a grit of 400 will work nicely for this purpose. This is a very tough stone that can quickly consume steel, making it perfect for major repairs and setting the bevel of straight razor blades. It isn't a necessary honing stone, but it does come in handy in extreme cases like removing serious chips, mainly from extra hard razors like those made by Portland Razor Co. or Thiers Issard.
1,000 to 2,000 - Minor Repairs
Honing stones with grits between 1,000 and 2,000 are useful for restoring a dull edge and making minor adjustments. This stone's texture is ideal for cutting steel quickly and producing a shaving edge that can be polished on finer stones.
They are great for collectors and those who restore vintage blades. However, the softer rough grit stones need to be flattened more frequently, so they are not recommended.
3,000 to 5,000 - Used Dull Blades
Use a grit between 3,000 and 5,000 if your blade pulls but still cuts. This grit level is typically used as a starting point for honing because it sharpens rapidly but is not as aggressive as higher grits, reducing the likelihood that you will damage your blade’s edge.
8,000 - Getting a near-perfect edge
Honing stones with an 8,000 grit level is the initial step to getting a polished finish. With minimal effort, you can get a very sharp edge and nearly mirror-like polish on your blade.
For straight razors that aren't too worn down but have some light scratches or chipping, a grit that comes close to a mirror polish works wonders. Because going straight into mirror polishing with 12,000 grit from 5,000 grit is not particularly fruitful, this stone serves as a stepping stone.
10,000 to 12,000 - Finishing
Mirror-polished razor blades have the finest polish. So, if you want your straight razor's edge to be as sharp as possible and have no flaws that you can see, choose to hone your blade with a 10,000 to 12,000 grit finishing stone.
This level of grit is also the hardest, so it takes the most time to use. As a result, it sharpens the least quickly. But a well-honed edge will sing through the hair while wet shaving with a straight razor and leave nothing but glory behind.
Start with the softest and work your way up to the hardest or most aggressive stones. Use 800 to 1,000 grit to prepare and set the bevel. Then, use 4,000 to 8,000 grit to sharpen dull edges and make adjustments. Finally, use 8,000 to 10,000 grit to finish or polish a straight razor blade.
Your Essential Equipment Checklist
Using the wrong sharpening tools on your straight razor can ruin its edge for good. Sharpen your straight razor with these tools:

Stone holder - secures the stone and allows for comfortable knuckle space during the honing process.
Lapping film - a cheaper alternative to honing stones with a less coarse surface.
Truing stone - required for sharpening cutting tools to maintain their straight and flat edges.
Finishing stone - for the final step in making a knife look unique and polished.

Chromium Oxide (CrOx) - a very fine grit paste of abrasive used to polish an edge to perfection.
Leather Strop - smooths out or burrs the blade's edge, preparing it for shaving.
Do not let stones or films dry out by not having a steady supply of fresh water nearby. You can fill a spray bottle, a cup, or a sink with water.

How To Sharpen A Straight Razor?
Sharpening a dull straight razor begins with honing. Then, you can burr the edges using a strop after sharpening to achieve the desired edge profile for a shave-ready blade.
Honing & Sharpening Tools You'll Need:
- Honing Stone, specifically made to hone razors
- Stone Holder
- Water
How To Sharpen And Hone A Straight Razor
Step 1: Prepare your workspace
Establish a clutter-free and clean work environment. If you need to, soak your stones in water for at least 10 minutes or keep a water bottle handy to spray them with. Before you start honing, use a lapping film to ensure the surface of your honing stone is flat, especially if it is a new whetstone.
Step 2: Mind your technique and grip
Don't ever hone on a dry stone, and always keep the entire edge on the stone. Start by placing the razor on the stone flat and using only the weight of the razor, and start with a few strokes in a direction away from you. Hold the tang and handle with your right hand while keeping the blade flat on the stone with your left middle and index fingers. Wet the stone as you go.
Flip the blade along the spine when you reach the stone's bottom. Start dragging it away from you, and that's one lap on the stone's surface.
We recommend a sharpening stone as wide as your straight razor’s blade. However, if you have a smaller honing stone, you can use an x-pattern to ensure that you hit all the parts of the edge.
Step 3: Bevel the edge
Before setting the bevel, do an arm hair test first. If the blade does not shave cleanly on your arm, proceed with bevelling the edge.
When setting a straight razor’s bevel, you need to use slow, even strokes to prevent unevenness. Use an 800 to 1,000 grit stone and keep it wet with water to make it easier for the razor to move across the bevel.
After 50 laps, do a hanging hair test. If the razor's edge does not cut the hair strand cleanly with no effort, it is time to move forward with a coarser abrasive.
Step 4: Sharpening the edge
Sharpen the edge of a dull straight razor by honing on a 4,000-grit sharpening stone. Start honing your straight razor’s edge on a 4,000 to 8,000-grit stone while constantly wetting the surface. Continue for 20 to 30 laps and do a shave test.
Step 5: Polishing and finishing
If the straight razor can smoothly and closely shave with minimal effort, you can finish the edges through polishing. For a mirror like sheen, use an 8,000-grit stone; for an even glossier sheen, try a 10,000-12,000-grit stone.
A chromium oxide paste can help improve the grit level of your honing stone simultaneously on a suede strop for excellent deburring. This green waxy paste can increase the coarseness of your stone up to 13,000 to 50,000.
Caring For Your Sharpening Equipment
Proper cleaning and storage are necessary to keep the quality of your straight razor honing stones. Clean your honing stone with a damp towel to remove excess oil, water, or metal on its surface. Do not rinse your stone, and do not dry it near a direct heat source. Instead, let it air dry for a couple of days or up to a week before putting it back in its box.

How To Strop A Straight Razor?
After honing your straight razor, it is time to smooth out the edges or deburr the edges. If your burring is strongly prominent, this is a job for a stone. A strop is limited to minor straightening and aligning a razor edge. It is the final step to deburr the edge more effectively and prepare your razor for shaving. There are several types of strops that do the job well:
Bench Strop: Industrial style leather-on-wood. It's designed for a workbench or table. It's best for beginners and abrasive pastes and to be used on a flat surface.
Loom Strop: Adjustable leather strap with a handle. Few manufacturers make this strop. They're costly and hard to use.

Paddle Strop: This is essentially a bench strop with a handle. It's one-handed-friendly and the least-used strop, but it works well.
 Hanging Strop: The most common and convenient strop. The strop is pulled tight after being hung on a hook or doorknob. Consisting of two simple parts: a canvas strip and a leather strip. Simplistic as it may be, it does have a steep learning curve to get right.
Stropping Tools You'll Need:
To strop a straight razor, you will need three things:
- Strop
- Stropping paste with chromium oxide as the main ingredient
- A place to hang (if using a hanging strop)
How To Strop Your Razor Blade's Edge
Stropping a straight razor is an essential step you need to do every time before you shave. There are several strops that will be your daily workhorse, as discussed, but the most takeaway is learning to master how to use them correctly.
Here’s how:
- Hang your strop on a sturdy hook, then pull it towards you until it's firm. If your strop has a canvas side, you can run the blade against the fabric to clean and reheat the steel.
- Put the blade on the strop, keeping the spin always in contact with the stropping surface. When you strop, the spine and edge of the blade should always touch the strop. Get hold of the shank of the razor, which is the thicker steel between the blade pivot and handle.
- Pull the razor towards you while applying light pressure to the spine (not the edge). As you move it, keep the blade of the razor flat against the strop.
- Twist your wrist when you reach the end of the strop to start the upstroke. The razor's spine should constantly be in contact with the strop, acting as a pivot.
- Repeat steps 2-4 and make 40-50 laps. To clean and polish the blade, strop it 3-5 times on the canvas side.
If you need clarification on which strops to get, wider ones cover the full blade edge. Narrower strops require stropping in an "X" pattern to sharpen the razor edge.
Caring For Your Strop
Maintaining the quality of a straight razor strop is simple. Every other time you use it, just rub it down with the palm of your hand, and the oils in your hand will keep the strop clean and lubricated.
After some time, a strop may become "slick" or lose its grip after prolonged use. That's your sign to get it cleaned.
Here's how to clean the leather side of your strop:
Step 1: Put some leather balm on a damp rag and rub it lightly over the compound on your strop. After about two minutes, take the lather off with a damp rag and then a dry one. Do this on both sides twice.
Step 2: Wet sand any nicks for two minutes with fine wet/dry sandpaper from an auto parts store. Before attempting repairs, seek advice from professionals.
Step 3: Use a lint-free cloth to apply leather strop oil once or twice, if needed. Allow it to sit for 30 minutes to help restore the draw of your strop. Repeat as often as needed.
Here's how to clean the linen side of your strop:
Step 1: Prepare a small thumb or soft scrub brush and two tablespoons of powdered laundry detergent.
Step 2: Mix the soap into the warm water, and then dip the brush in the bowl. Scrub, rub a bit, and then rinse. Keep doing this until the water is clear.
Step 3: Hang your strop to air dry and never put it in the dryer. The strop may shrink if not dried naturally.
Straight Razor Strop Storage Tips:
- Keep the strop in a sealed plastic bag to prevent it from drying out. This will also keep your strop clean and free from dust, which may damage its surface and the straight razor you are sharpening.
- Avoid mixing different kinds of strops with varying grain sizes to prevent contamination. Keep them separated because greater particles on your fine strop may cause larger scratches.
Sharpness Tests
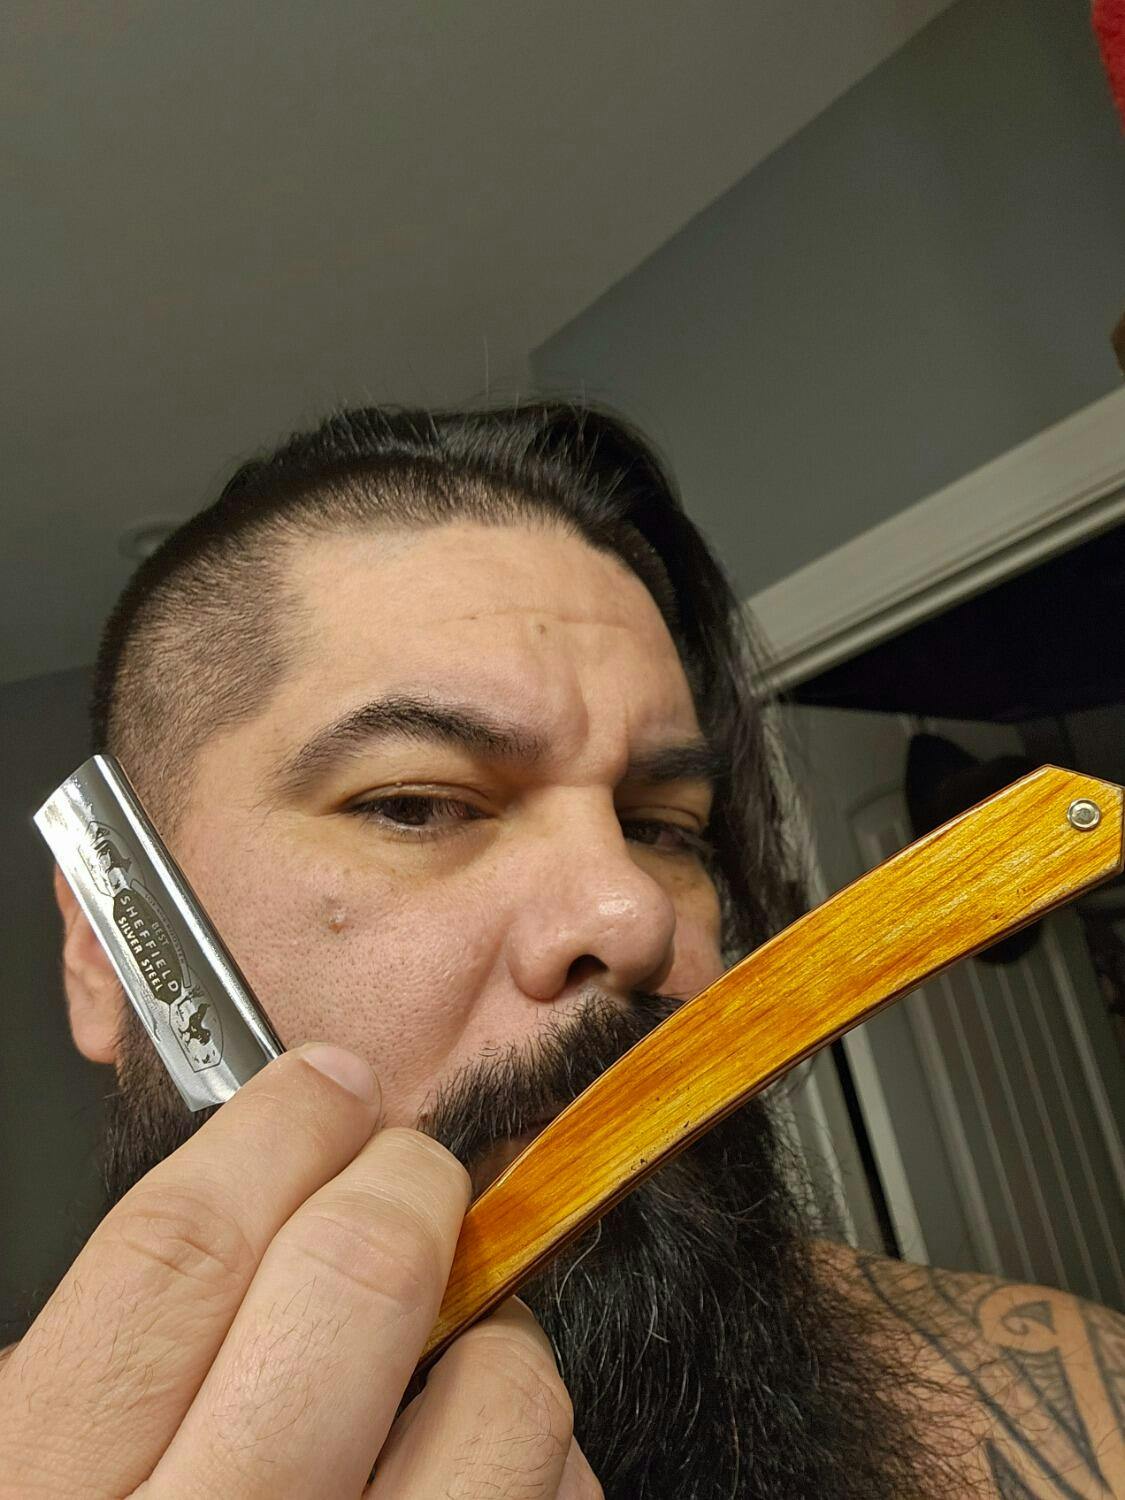
A straight razor needs sharpening when the blade pulls or tugs on the hair as you shave and slices through a plucked hair. Find out if a straight razor needs to be sharpened or not with this straight razor blade sharpness test:
Arm hair test
Your straight razor blade should be able to cut arm hairs without the edge touching the skin when shaving your arm hair.
Hanging hair test
A straight razor's blade should cut a strand of hair easily as soon as it touches it.
Cherry tomato test
A sharp straight razor should be able to cut straight into a tomato at a 30-degree angle without warping the skin.
Thumb pad test
Dull straight razors do not put any friction or a tickle when you glide them on a wet thumb with little to no pressure.
Fingernail test
Gently glide your straight razor on your fingernail. Dull blades do not leave a mark and do not glide smoothly.
The thumb pad and fingernail test are recommended for only some. If this is your first time using a straight razor, you might need to learn how to hold it properly, which makes you more likely to cut yourself.

Maintaining Your Straight Razor
The key to preventing rust and damage on your straight razor is to follow proper straight razor maintenance. Here are some essential tips from DOVO that you should follow:
Straight Razor Pre-Shave Care
Always strop your straight razor before you use it to shave. Make sure there is no dust or dirt on the leather side by running your palm over it. Then, use the proper stropping techniques and keep the strop tight and straight so you don't damage the razor's cutting edge. Do this for 10–15 laps.
Straight Razor After Shave Care
Always rinse your straight razor after each pass, especially at the end of your shave. Then, dry the straight razor carefully with a soft cloth, careful not to touch the edge.
Straight Razor Storage Tips
Just like safety razor blades or disposable razors, keep the straight razor in a well-ventilated area for 48 hours to prevent rusting or tarnishing and to allow the burr on the edges to realign. If you're not going to shave soon, rub the blade with a non-acidic oil once it's dry.
Learning to wet shave with a straight razor is an investment. And the only way to get your money's worth is to learn how to keep your straight razor in good working order for as long as possible.